I'll try to make my instructions easy to scan, but also as specific as possible. When I can, I'll include pictures that illustrate the steps. How to make the AE syle headlights Step 1: Pre heat your oven to 200 degrees. Raise the hood (duh). You will need to remove the center grill section between the headlights. The grill is held on by two snap fasteners at each headlight assembly and one pop in fastener on the center support. Step 2: Remove the corner lights. There is small screw that holds the corner light housing to the headlight housing at the very outer edge of the headlight. Take out the screw and pull the corner lights forward and then outward. They are very tough to remove you have to pull HARD. Step 3: When you get the corner light off, you will see 2 10mm screws that hold the headlight housing to a support member. Remove these screws.
Step 4: Above and below the inboard aim adjustment screw for each headlight, there is a 10mm nut that holds the headlight housing in. These are very hard to see and even harder to get a wrench or socket onto. Remove these too.
Step 5: Now you can disconnect the wiring harness from the headlight and pull out the entire headlight housing. You may have to wiggle it a little here and there, but it will come right out. Now you have the headlight and its mounting system removed.
Step 6: On the outboard side of the assembly there are two 8mm screws that hold the headlight itself to a metal bar that attaches to the aim adjustment screw. Remove these screws. The inboard aim adjustment screw attaches to the headlight itself with a pop fastener, you just have to pull the really hard. I broke both my light housings doing this, but I just epoxied the piece back on and now they are fine.
Step 7: Remove the metal clips holding the glass to the plastic of the headlight. There are 2 on the top and 3 on the bottom. Just slide a screwdriver under them and pry them off carefully.
Step 8: If you haven't already, remove the bulb from the headlight assembly. Place the headlight in the oven and leave it in there at 200 degrees for at least 35 minutes. I did each light on its own, but you could do them both at the same time if you wanted.
Step 9: After the timer goes off, take the light out and try to very carefully pry the glass away from the plastic with a wide blade screwdriver. Go very slowly. I chipped my glass a lot by going too fast. If its really not going to come off, put it back in the oven for 10 more minutes. You'll know when it wants to come off, once it gets started, the rest comes off easily. You can use a knife to cut the adhesive as you pry it off.
Step 10: Dont touch the reflector, even if it looks dirty, you'll just make it worse trying to clean it. Carefully tape off the main part of the reflector and cover it with paper. This pic shows the parts that I painted. 
Step 11: Paint the reflector with flat back paint, or whatever color you want. When that is dry, take of the tape and masking and bake both the glass and plastic again for about 20 minutes to soften up the glue.
Step 12: then press the glass and plastic back together install the clips and the rest is the opposite of the disassembly.
If you are very careful with all of this you shouldnt crack your headlight glass and shouldnt need to re-aim them when you get them back in.
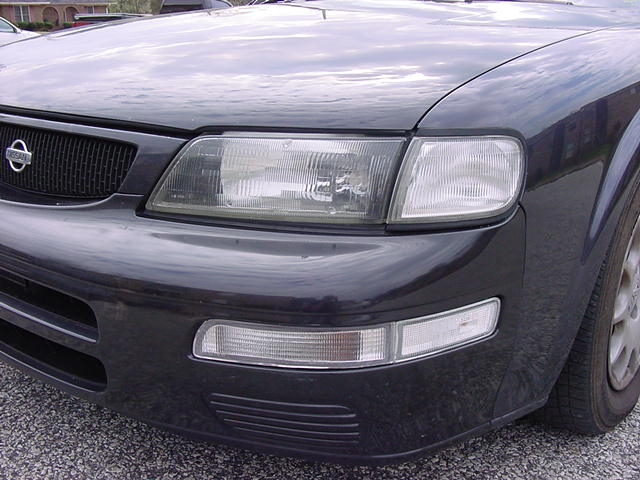
Below is the finished product. 
|  |
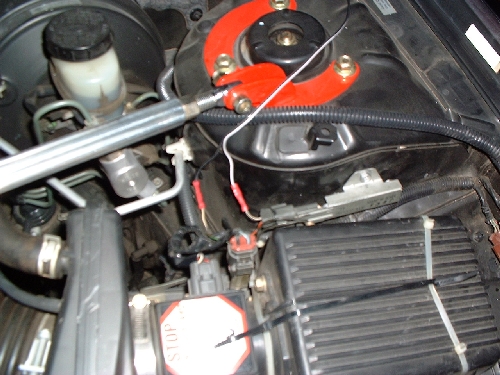
How To Make A Shift Control for Your Auto Transmission The transmission in the Nissan Maxima has gets its line pressure control signal through a resistor mounted under the hood. It is mounted on the front side of the drivers-side strut tower. If one disconnects this resistor, the TCM fails safe and automatically applies full line pressure. This makes it shift very hard at every upshift. It shifts hard enough to really chirp the tires. This makes for much improved acceleration. Also, it makes for very jerky part throttle shifts and is probably bad for the transmission in the long run. This also sets of the MIL and makes the tranny flash a code through the "O/D Off" light at startup.
To be able to take advantage of the quicker acceleration and not kill my tranny, I wired in a switch. Now I can disconnect the resistor when I need to for max acceleration, but still have it on for normal driving. I only use this once in a blue moon so resetting the MIL isn't that big of a deal to me.
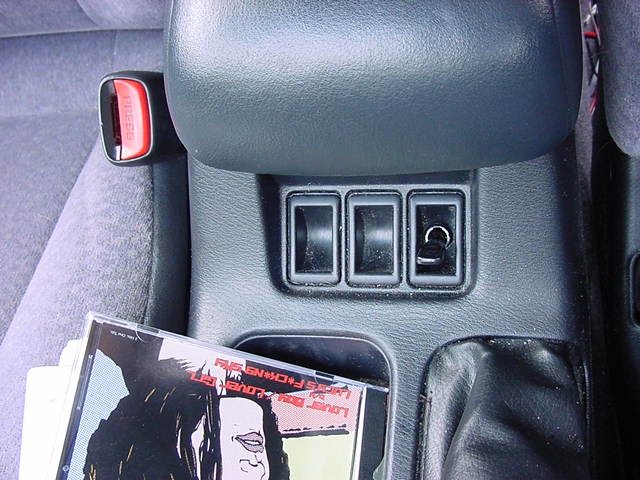
I just spliced in the WHITE wire with the BLACK stripe on the resistor harness and mounted a switch in my center console. Be sure and use a switch designed for automotive use (the first one I used wasn't and caught on fire). 
Here's the underhood connection. 
Here's the switch in the console. |
|
|
|
|